HTTP服务器Apache
Apache HTTP Server Project是一项协作软件开发工作,旨在创建HTTP(Web)服务器的健壮,商业级,功能强大且可免费使用的源代码实现。该项目由世界各地的一组志愿者共同管理,使用Internet和Web进行通信,计划和开发服务器及其相关文档。该项目是Apache Software Foundation的一部分。另外,成百上千的用户为该项目贡献了想法,代码和文档。
Apache HTTP Server 下载
打开Apache HTTP Server官网:http://httpd.apache.org
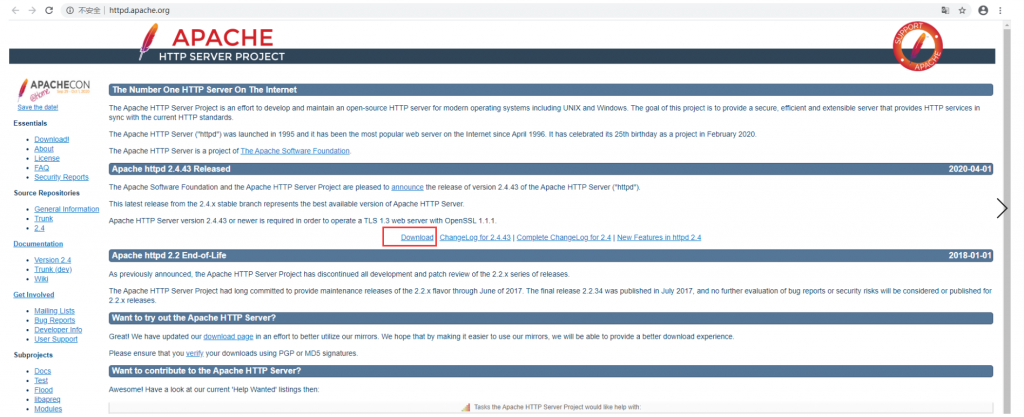
点击Download
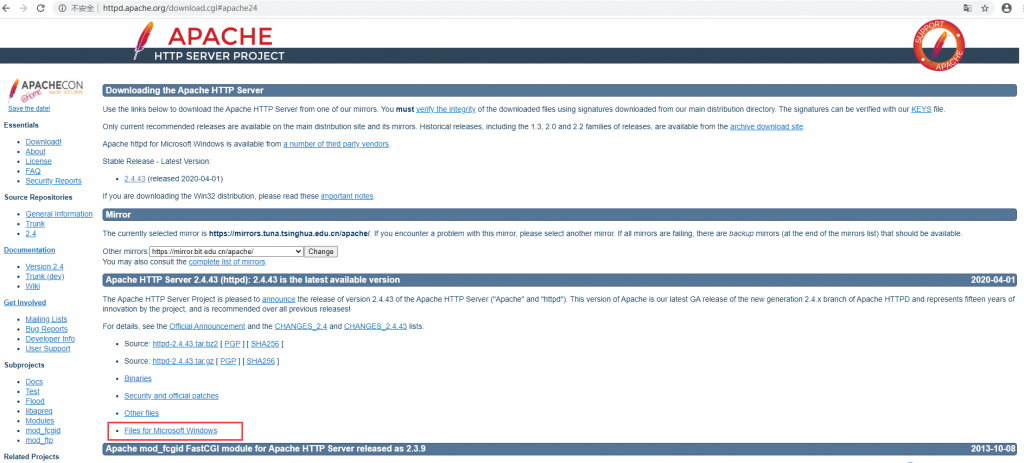
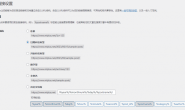
点击Files for Microsoft Windows链接
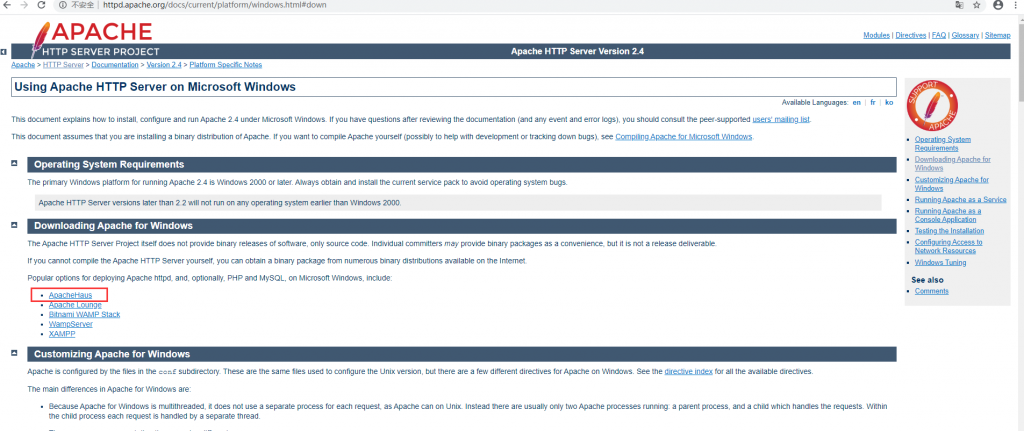
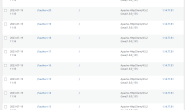
点击ApacheHaus
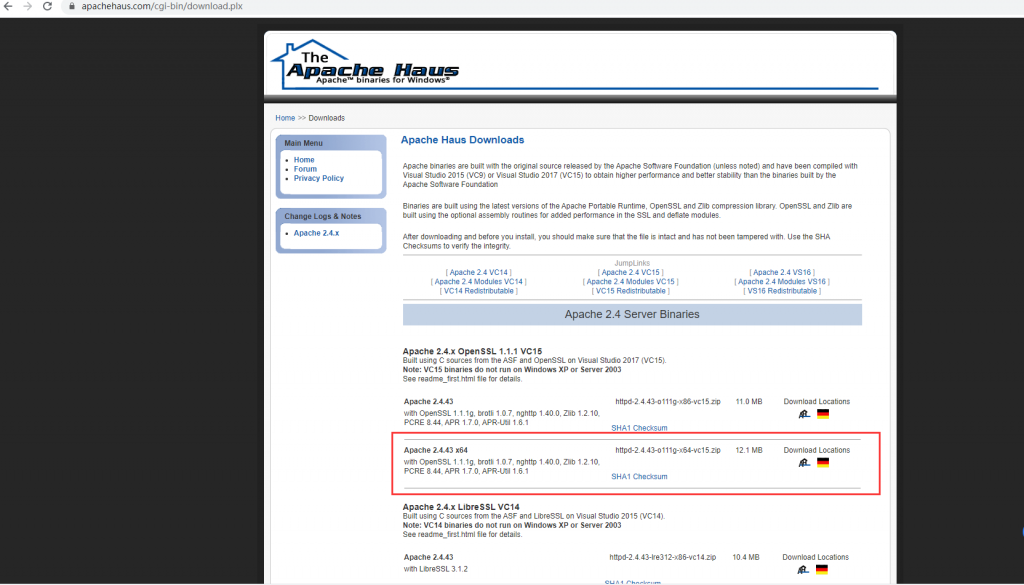
点击下载完成。
Apache HTTP Server 安装
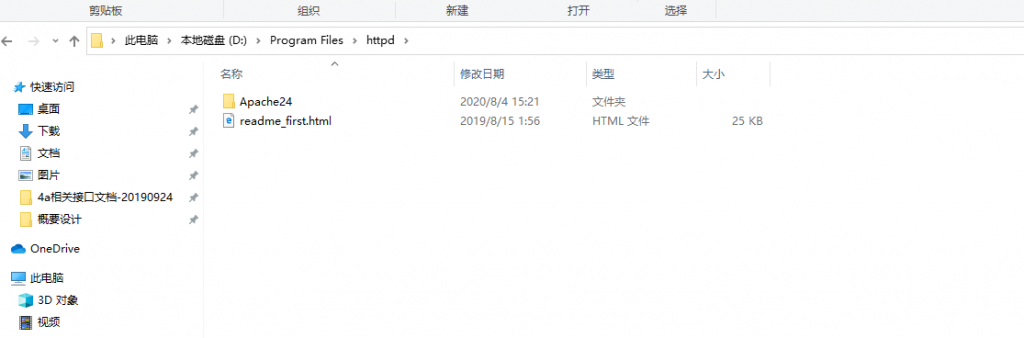
将下载完成的安装包移到将要安装的目录并解压。
例如:将解压后的文件夹移动到目录D:\Program Files\httpd下
Apache HTTP Server 配置
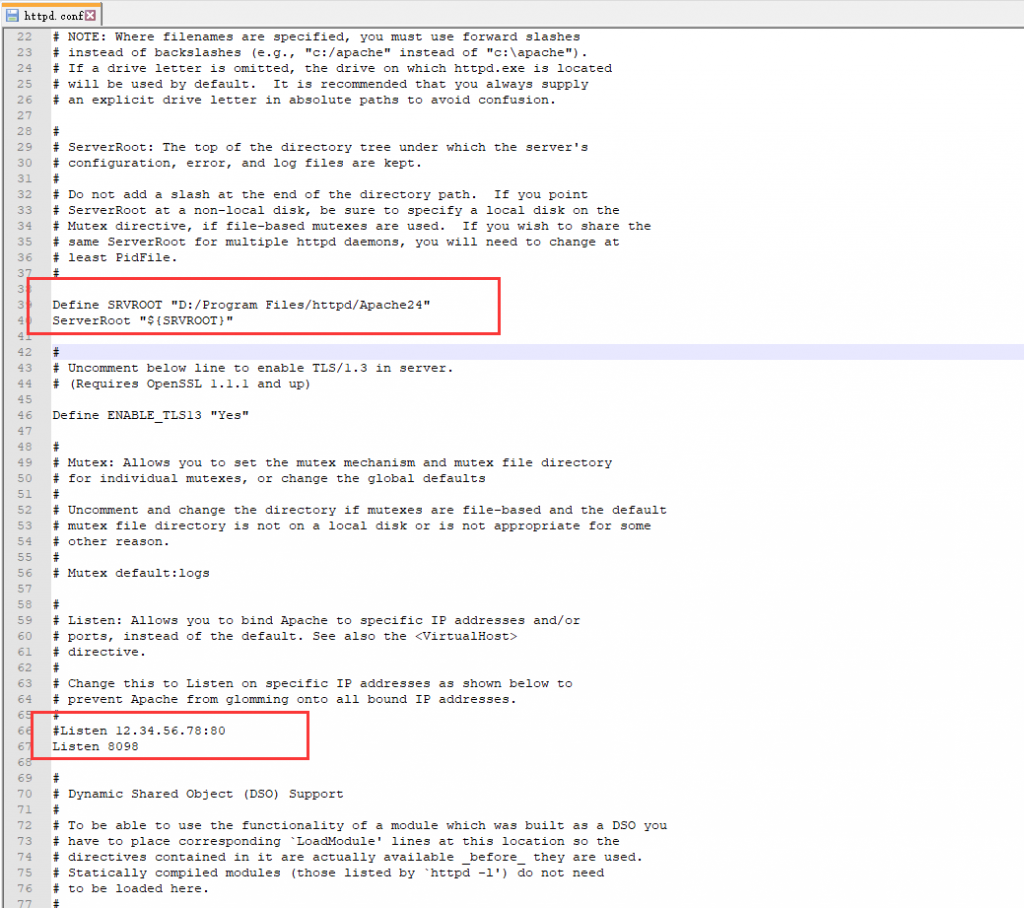
打开httpd.conf文件。例如:D:\Program Files\httpd\Apache24\conf\httpd.conf
修改Apache实际绝对安装目录Define SRVROOT。其中D:/Program Files/httpd/Apache24就是实际的安装目录。如果本机80端口被占用,就需要更改默认端口Listen,因为本机端口被占用,所以改为8098作为新端口。
检查配置文件是否合法,打开cmd切换目录到D:\Program Files\httpd\Apache24\bin下,输入一下命令并执行
httpd -t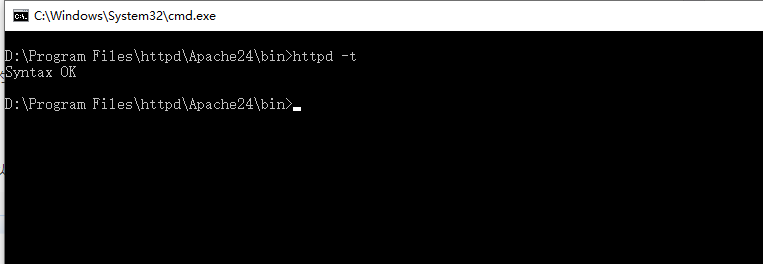
安装Apache的主服务,以管理员身份打开cmd并切换目录到D:\Program Files\httpd\Apache24\bin,输入以下命令进行执行安装:
httpd -k install -n Apache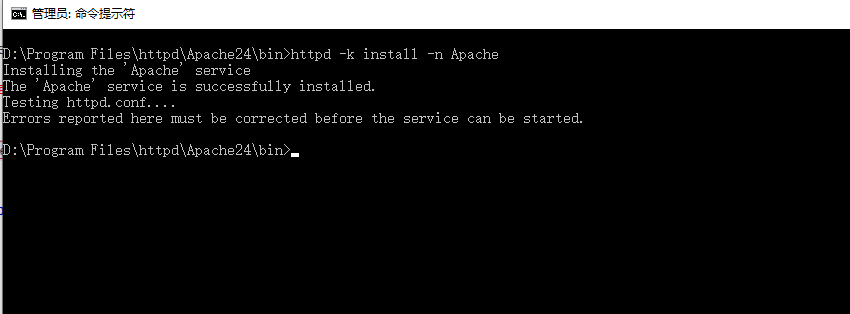
安装成功如上图所示,其中-n后面参数是自定义Windows服务名称,例如:Apache
Apache服务器的启动
Windows下Apache服务器的启动方式有以下几种
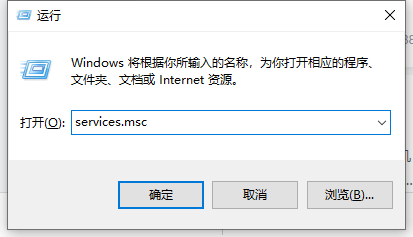
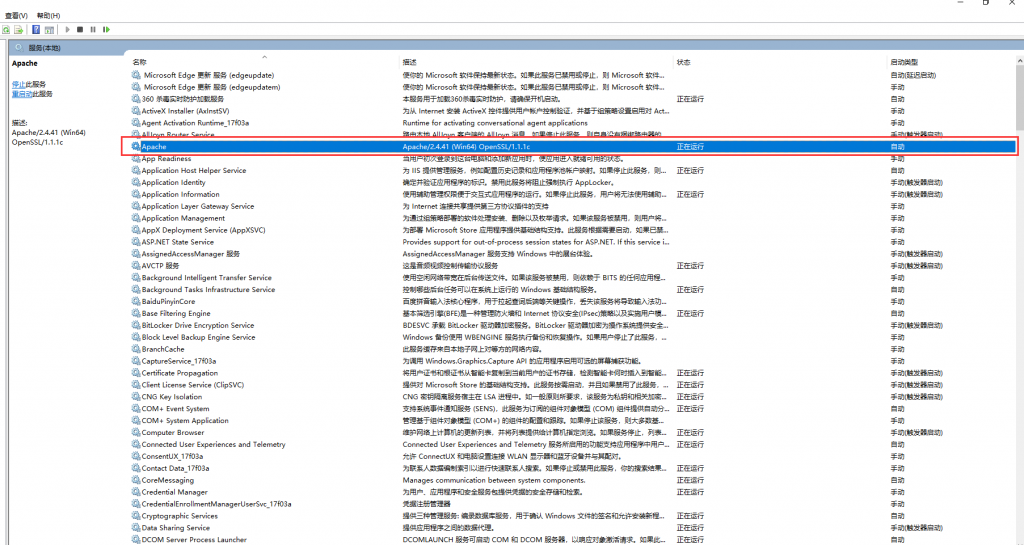
利用WIndows服务管理启动。
同时按下win+r键,在运行窗口中输入services.msc,即可打开服务
利用命令行启动
Windows系统自带命令
net start Apache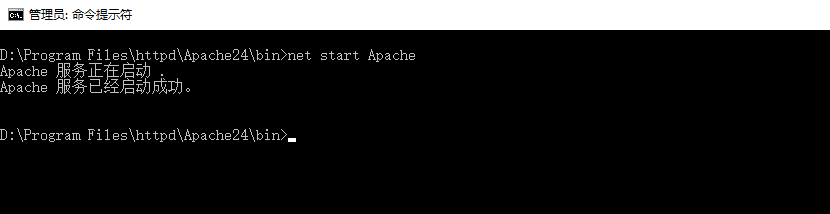
Apache HTTP Server 自带命令
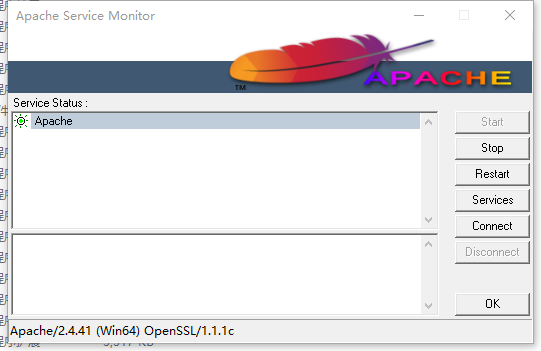
httpd -k start利用Apache服务器自身的视窗打开
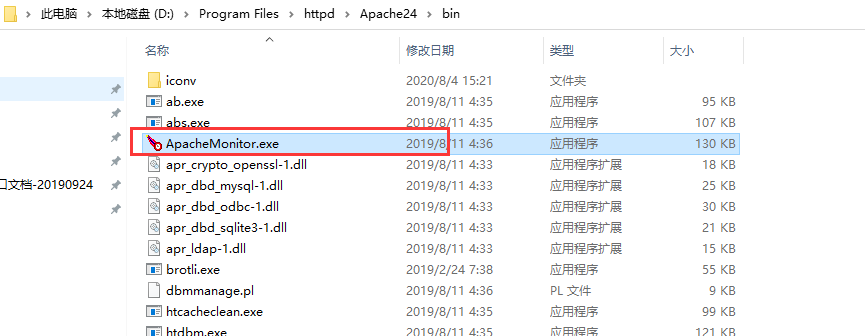
打开目录D:\Program Files\httpd\Apache24\bin并打开ApacheMonitor.exe
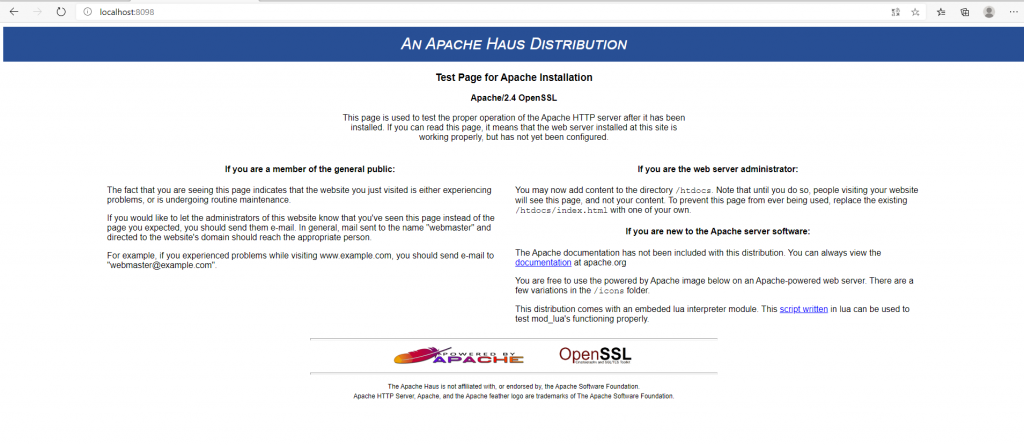
打开浏览器,输入访问http://localhost:8098,若出现如下图所示界面,则Apache服务器的基本配置完毕,此时apache服务器已经可以运行。
Apache HTTP Server 卸载
如果不在需要使用Apache HTTP Server,可以删除服务再删除文件夹。以管理员身份打开cmd,并切换目录到D:\Program Files\httpd\Apache24\bin,执行以下命令
httpd -k stop
httpd -k uninstall或者使用Windows系统自带的命令sc delete 服务名进行删除
sc delete Apache结束
Apache HTTP Server的下载、安装、启动以及卸载就全部结束。
转载请注明:清风亦平凡 » Windows 10 安装Apache
 支付宝扫码打赏
 微信打赏
微信打赏